
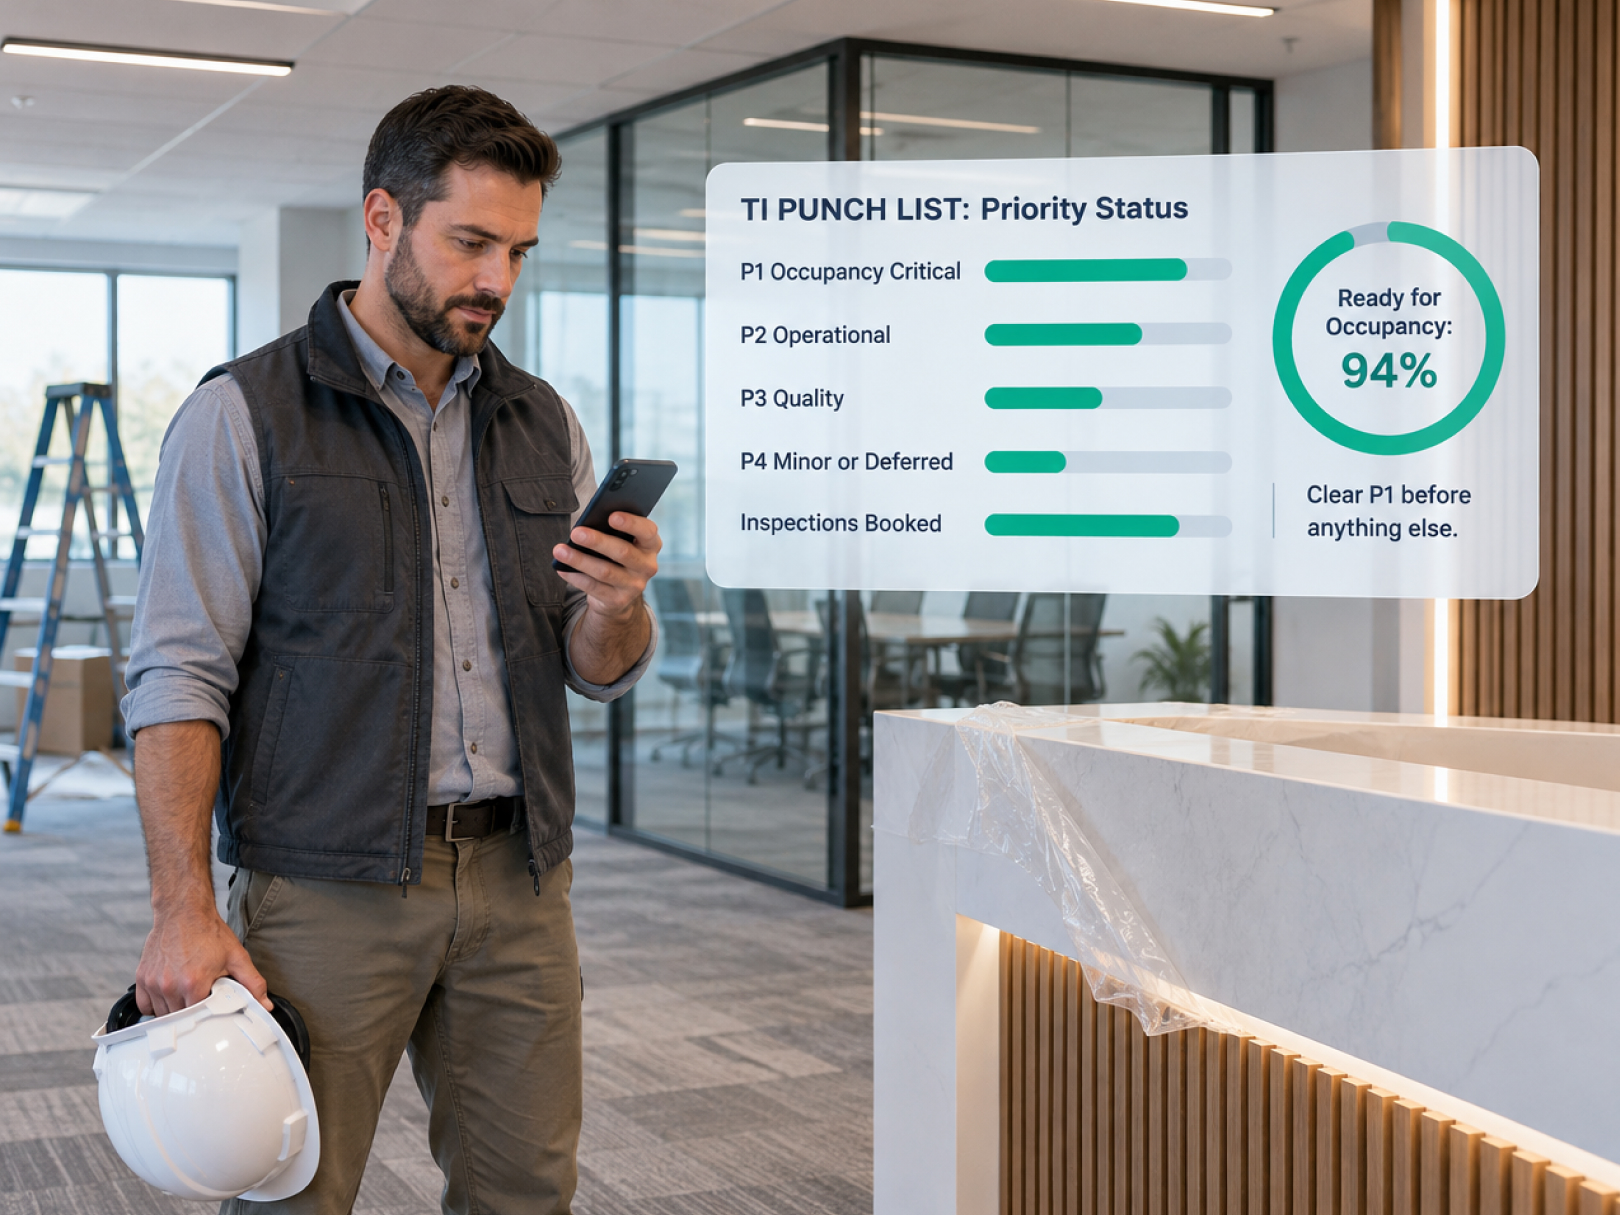
 A tenant improvement (TI) punch list has more parties, tighter deadlines, and harder dependencies than a residential one. The tenant wants to open. The landlord wants the base building undisturbed. The architect wants the design intent met. The fire marshal and building department have to sign off before anyone can occupy. A scuffed wall that a homeowner might tolerate can hold up a certificate of occupancy when it sits next to a missing exit sign.
This guide gives you a copy-ready TI punch list template organized by system and area, a sequence that separates must-fix-before-occupancy items from cosmetic ones, and a workflow for managing the tenant, landlord, architect, and inspectors without losing a week to confusion. For the broader closeout process and a general template, see the construction punch list template and closeout checklist.
How TI Punch Lists Differ From Other Types
Five things make TI work different. Plan around them.
- Multiple reviewers. The tenant, the tenant's architect or designer, the landlord's representative, and sometimes a property manager and a lender each make their own lists.
- Occupancy gates. Inspections, fire alarm and sprinkler acceptance, and a certificate of occupancy often have to happen before the tenant can move in or open.
- Base building interface. TI work ties into the landlord's systems, such as fire alarm, sprinklers, HVAC, and electrical. Items that cross that line need landlord involvement.
- Compressed schedules. Lease commencement dates and opening dates are fixed. Rent often starts regardless of whether you finished.
- Tenant vendors. Furniture, IT, security, signage, and equipment installers arrive near the end and need access. Their schedules overlap with your punch work.
Because the stakes are time and occupancy, sort every item by priority, not just by trade.
Priority Categories
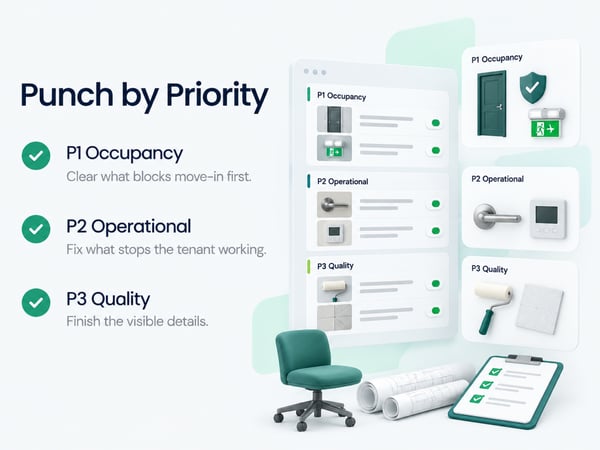
Assign every item to one of these, and work them in order.
|
Priority |
Definition |
Example |
|---|---|---|
|
P1: Occupancy critical |
Blocks inspection, certificate of occupancy, or safe use |
Missing exit sign, inoperative emergency lighting, fire alarm device not tested |
|
P2: Operational |
Prevents the tenant from operating normally |
Door that will not latch, HVAC zone not cooling, dead outlets at workstations |
|
P3: Quality |
Does not block use but is noticeable |
Paint touch-ups, ceiling tile damage, uneven grout |
|
P4: Minor or deferred |
Can be completed after occupancy with agreement |
Adjust a drawer, minor caulk, touch-up in a low-visibility area |
Agree on this system with the tenant and architect at the start of the walkthrough. Items they place in a higher category need to be recorded with their reason.
Before the Walkthrough: Your Own Pre-Punch
Run your own punch list 2 to 3 weeks before the tenant's walkthrough, so most items are gone before they see them.
- [ ] Clean the space so defects are visible
- [ ] Walk every room with the drawings, and compare what is built to what was drawn
- [ ] Test every light, switch, outlet, door, window covering, and fixture
- [ ] Run HVAC through all modes and check airflow and thermostat response
- [ ] Test plumbing fixtures, drains, and water temperature
- [ ] Confirm fire alarm, sprinkler, and emergency lighting work is complete and ready for inspection
- [ ] Check finish quality in raking light
- [ ] Photograph and assign every item you find
- [ ] Schedule required inspections and confirm they are booked
Track pre-punch time under its own cost code. That cost is real, and you should measure it. GPS time tracking captures crew hours by project and cost code so you can see what closeout costs per project.
Copy-Ready TI Punch List Template
Use this as a starting point and delete what does not apply. For each item, record location, description, trade, priority, assigned to, due date, photo, completed date, and verified by.
Life Safety and Code (P1 first)
- [ ] Exit signs installed, illuminated, and correctly oriented
- [ ] Emergency egress lighting operational. Photo: during test
- [ ] Fire alarm devices installed, tested, and accepted. Photo: devices and test report
- [ ] Sprinkler heads installed per reflected ceiling plan, with correct clearances
- [ ] Fire extinguishers installed with signage and inspection tags
- [ ] Fire-rated walls, penetrations, and door assemblies sealed and labeled per drawings
- [ ] Egress paths clear, doors swing in the correct direction, panic hardware operates
- [ ] Occupancy load and required code signage posted
- [ ] Required inspections passed and documented. Photo: signed cards
- [ ] Temporary or final certificate of occupancy obtained
Accessibility
- [ ] Door clearances, thresholds, and hardware heights per accessibility requirements
- [ ] Restroom clearances, grab bars, and fixture heights verified
- [ ] Counter and reception heights per drawings
- [ ] Signage with required tactile and Braille elements installed
- [ ] Route to restrooms and exits unobstructed
Ceilings and Overhead
- [ ] Ceiling grid level, tiles clean, no damage or gaps
- [ ] Light fixtures installed, aligned, and operating
- [ ] Diffusers, grilles, and access panels installed and aligned
- [ ] Ceiling-mounted devices located per reflected ceiling plan
- [ ] Drywall ceilings and soffits finished and painted, with no visible seams
Walls, Paint, and Finishes
- [ ] Wall surfaces smooth, with no visible patches or nail pops
- [ ] Paint coverage even, with clean cut lines at ceilings and trim
- [ ] Accent walls and colors match approved selections
- [ ] Wall protection, corner guards, and base installed
- [ ] Wallcoverings and film applied without bubbles or gaps
- [ ] Glass partitions, film, and manifestations installed per design
Flooring
- [ ] Carpet seams, edges, and transitions secure and flat
- [ ] Resilient flooring free of gaps, bubbles, and scratches
- [ ] Tile and grout complete, even, and clean
- [ ] Floor transitions at thresholds meet code and design
- [ ] Protective covering removed and floors cleaned
Doors and Hardware
- [ ] Every door swings, latches, and closes properly
- [ ] Locks keyed per the keying schedule, with keys delivered
- [ ] Closers adjusted for correct speed and latch
- [ ] Hinges, stops, and silencers installed
- [ ] Door frames plumb and caulked
- [ ] Access control hardware installed and tested with the security vendor
Millwork and Casework
- [ ] Doors and drawers aligned, soft-close working, and hardware tight
- [ ] Countertops level, seams tight, edges finished
- [ ] Reception desk, conference tables, and built-ins installed per design
- [ ] Shelving secure and level
- [ ] Laminate and veneer free of chips and delamination
Electrical and Low Voltage
- [ ] All outlets and switches work and are correctly labeled
- [ ] Panel schedules updated and accurate
- [ ] GFCI and AFCI devices tested where required
- [ ] Floor boxes and power poles installed and tested
- [ ] Data and voice outlets terminated, labeled, and tested
- [ ] Audio-visual rough-in and conduits complete
- [ ] Cover plates installed and level
HVAC and Mechanical
- [ ] Equipment operating, with thermostats responding
- [ ] Airflow balanced, with the balancing report delivered
- [ ] Zone control verified
- [ ] Exhaust fans operating and vented correctly
- [ ] Condensate lines draining
- [ ] Filters installed and equipment tagged
- [ ] Controls integrated with the building system where required
Plumbing
- [ ] Fixtures installed, secure, and free of leaks
- [ ] Hot and cold water at correct temperatures
- [ ] Drains flowing freely
- [ ] Water fountains, sinks, and kitchenette fixtures tested
- [ ] Shutoff valves labeled and accessible
- [ ] Backflow and required tests documented
Specialties and Equipment
- [ ] Restroom accessories installed and secure
- [ ] Blinds, shades, and window treatments installed and operating
- [ ] Signage installed per the sign package, including suite and directory signs
- [ ] Kitchen and break room equipment connected and tested
- [ ] Tenant-supplied equipment connections verified
Landlord and Base Building Items
- [ ] Penetrations and connections to base building systems completed and accepted
- [ ] Damage to common areas, corridors, elevators, and lobbies repaired
- [ ] Fire alarm and sprinkler tie-ins accepted by the landlord's vendor
- [ ] Loading dock and freight elevator protection removed and restored
- [ ] Landlord's punch items documented and assigned
Closeout Deliverables
- [ ] Operation and maintenance manuals delivered
- [ ] Warranties and guarantees delivered
- [ ] As-built drawings delivered
- [ ] Attic stock and spare materials delivered and labeled
- [ ] Keys, access cards, and passwords delivered
- [ ] Training for tenant staff completed where required
- [ ] Final cleaning completed
Managing Multiple Walkthroughs
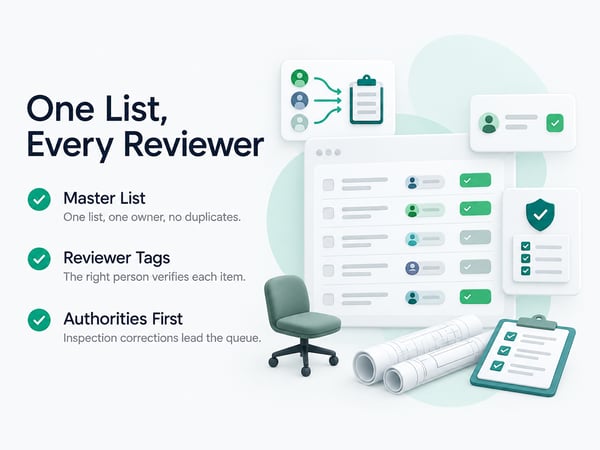
Expect three or more walkthroughs. Coordinate them so the same defect is not listed three times.
Contractor pre-punch. Your own. Fix before anyone else sees it.
Architect or designer walkthrough. Checks design intent and finish quality. Produces a list that you consolidate.
Tenant walkthrough. Checks function and appearance. Often includes the tenant's project manager and operations staff.
Landlord walkthrough. Checks base building impact and common area restoration.
Authority inspections. Fire marshal, building department, and others. Their corrections take priority.
Final verification. Everyone confirms items are closed and signs off.
Best practice: Use one master list, with one person responsible for maintaining it. Each reviewer contributes to the same list. Duplicates get merged. Items are tagged with who raised them, so you know who must verify closure.
Coordinating Tenant Vendors and Access
Furniture, IT, security, and signage vendors can undo your finish work or block yours. Set rules.
- Agree on a vendor access schedule with the tenant
- Protect finished floors and walls before furniture installers arrive
- Document the condition of finished areas with photos before vendors enter
- Hold vendors responsible for damage they cause, with before photos as the record
- Sequence punch work so noisy and dusty tasks come first
- Reserve times for inspections when the space must be clear
- Keep a log of who entered the space and when
Photographs with timestamps and locations are your protection against damage claims after other trades have entered. See the field inspection workflow for documenting conditions with photos tied to checklist items, and construction defect claims for how that record helps.
Substantial Completion, Final Completion, and Payment
The punch list drives payment milestones. Know how your contract defines them.
Common milestones:
- Substantial completion: The space can be used for its intended purpose, with only minor items remaining. Usually documented with a signed certificate.
- Final completion: All punch list items done, closeout deliverables delivered, and final inspections passed.
- Final payment and retainage release: Triggered by final completion and the required documents, such as lien waivers and warranties.
Open items can hold up retainage. Agree early on how much is held for open items and when it is released. See construction retainage for how retainage works and construction project closeout for the closeout package. Slow release affects cash flow. See construction cash flow management.
Contract language matters here. Define who writes the list, when it is final, how disputed items are handled, and how long you have to complete them. See how to negotiate a construction contract.
Tracking Items to Closed
Every item needs an owner, a due date, a photo, and a verification step.
- Consolidate all reviewers' items into one list within 24 hours of each walkthrough
- Prioritize P1 through P4 and agree with the tenant
- Assign each item to a trade or vendor with a due date. Send each sub only their items
- Batch work by trade and area to reduce trips
- Complete the item and photograph it from the same angle as the original
- Verify internally, then with the person who raised it
- Close only when the reviewer accepts
- Report daily during the crunch: open by priority, closed since yesterday, at risk
- Archive the final list, photos, and sign-offs
Crew time on the punch list should have its own cost code, so you can see closeout cost per project. See time tracking for construction workers and construction time tracking software. When subs repeatedly fail to complete items, document each missed date. See how to fire a subcontractor.
Common TI Punch List Problems
Reviewers add scope. Items that were not in the drawings or contract are new work. Price them as change orders. Be polite and specific: "That was not in the permit set. I can price it."
The list never ends. Set a cutoff date for new items after the final walkthrough, written into the contract.
Landlord and tenant disagree. Do not referee. Ask both to put direction in writing before you proceed.
Inspection fails. Fix the cited items, then rebook quickly. Keep the correction notice and the passing card in the file.
Rent starts while you are still working. Prioritize P1 and P2 items and negotiate access windows for the rest. Document delays that are not yours. See construction project delay for how verified records support your position.
Using Punch List Data to Improve Bids
After several TI projects, your punch list history tells you what closeout costs and where problems start.
Review:
- Punch hours as a percentage of total labor
- Items per 1,000 square feet
- The most common categories
- Trades and vendors with the highest item counts
- Days from substantial completion to final completion
Feed this into estimates, and into your supervision plan. See how to win construction bids, contractor profit and loss statement, and construction WIP report. For platform comparisons covering time tracking and field tools, see top 5 time tracking apps, top 5 BusyBusy alternatives, and TaskTag vs. BusyBusy. For exterior and site work around the TI, see time tracking for landscapers.
One-Page TI Punch Checklist
Before the walkthrough
- [ ] Pre-punch complete, with items assigned
- [ ] Required inspections booked
- [ ] Priority system agreed (P1 to P4)
- [ ] One master list with one owner
- [ ] Vendor access schedule agreed
During the walkthrough
- [ ] Every item has location, description, priority, and photo
- [ ] Reviewer name recorded for each item
- [ ] Items outside scope flagged for pricing
After the walkthrough
- [ ] Lists consolidated within 24 hours
- [ ] Items assigned with due dates
- [ ] Daily status report to the tenant and landlord
- [ ] P1 and P2 complete before the occupancy date
Closeout
- [ ] Final verification walkthrough
- [ ] Substantial and final completion documents signed
- [ ] O&M manuals, warranties, as-builts, and attic stock delivered
- [ ] Final invoice, lien waivers, and retainage release requested
Related Resources
Punch List and Inspection:
- Construction Punch List Template and Closeout Checklist: general template with closeout checklist
- Field Inspection Workflow: checklists and photos in one workflow
TaskTag Features:
- GPS Time Tracking for Construction: closeout labor by project and cost code
- Construction Time Tracking Software: platform overview
- Time Tracking for Construction Workers: crew clock-in guide
- Top 5 Time Tracking Apps: platform comparison
- Top 5 BusyBusy Alternatives: alternatives guide
- TaskTag vs. BusyBusy: feature comparison
- Time Tracking for Landscapers: tracking for exterior and site crews
Related Blog Posts:
- Construction Project Closeout: full closeout process
- Construction Retainage: open items and retainage release
- Construction Defect Claims: photo records in disputes
- Construction Project Delay: documenting delay not caused by you
- Construction Cash Flow Management: final payment timing
- How to Negotiate a Construction Contract: completion and punch list clauses
- How to Fire a Subcontractor: documenting missed dates
- How to Win Construction Bids: using closeout data in estimates
- Contractor Profit and Loss Statement: closeout cost in financials
- Construction WIP Report: profitability through closeout