

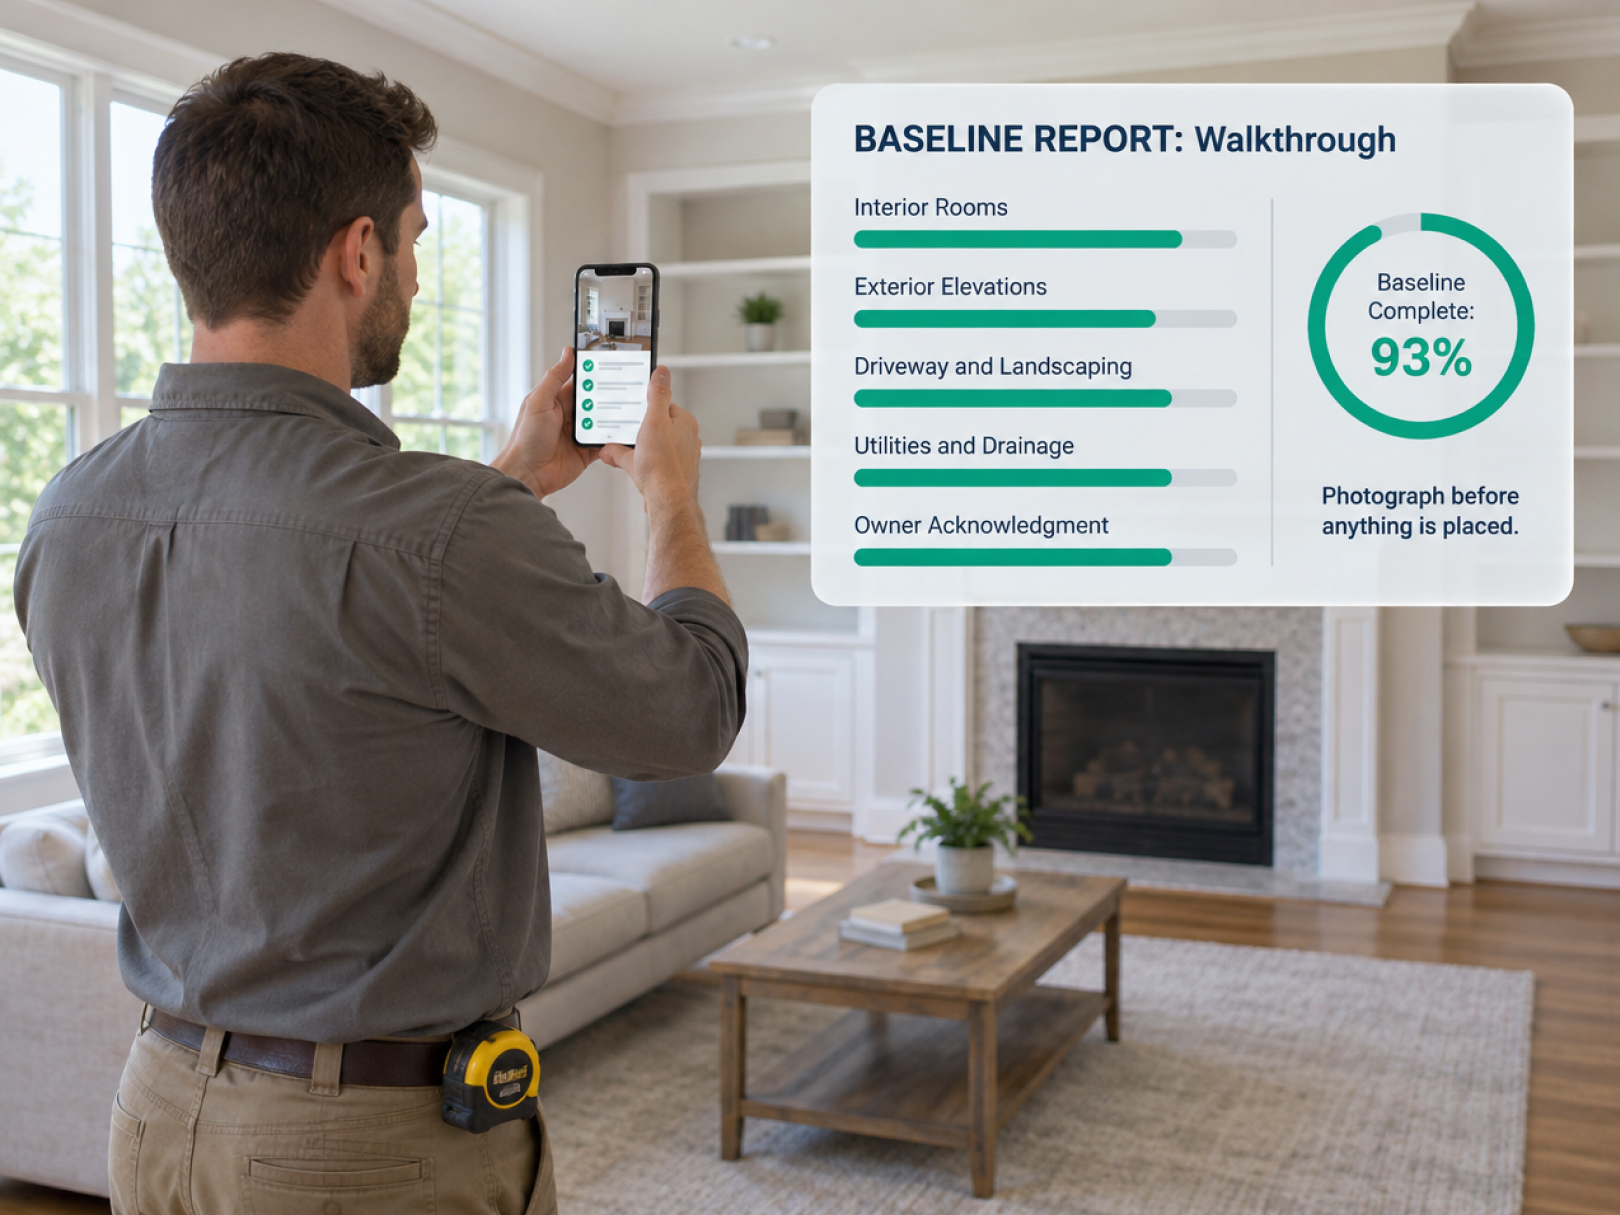
 The best time to defend a damage claim is before the work starts. A homeowner who says the crew cracked the living room floor, a neighbor who says your excavator damaged their driveway, a city that says you broke the curb: each of these is a question about what the property looked like on day one. Without a dated record of day one, the answer comes down to whose memory is more convincing, and the contractor is usually the one holding the bill.
A baseline condition report is a systematic set of photos and notes, taken before work begins, that shows the existing state of the property, the surrounding area, and anything your work could affect. It takes an hour or two, and it is one of the cheapest forms of protection a contractor has. This guide gives you a room-by-room and site-wide checklist, photo rules that make the record credible, a pre-existing conditions acknowledgment, and a workflow for storing and sharing it. It follows the same checklist-plus-photo pattern as the field inspection workflow.
This is operations guidance, not legal advice. Notice requirements, neighbor access, and survey rules vary by location and project. Ask your attorney and insurance advisor how to handle your specific projects.
Who Needs a Baseline Report
Almost every project benefits. Some need it more than others.
|
Project type |
Why baseline matters |
|---|---|
|
Interior remodel |
Clients dispute scratches, cracks, and damage to finished areas |
|
Additions |
Existing structure and finishes next to the work are at risk |
|
Excavation and site work |
Adjacent property, utilities, trees, driveways, and sidewalks |
|
Demolition |
Neighboring structures, shared walls, and vibration effects |
|
Roofing |
Landscaping, siding, windows, gutters, and driveways |
|
Commercial tenant improvement |
Landlord's base building, corridors, elevators, and common areas |
|
Multifamily or occupied buildings |
Other units and shared spaces |
|
Work near fragile or historic structures |
Pre-existing cracks and settlement |
|
Public right-of-way work |
Curbs, sidewalks, pavement, and utilities |
If something you do could reasonably be blamed for damage, document it first.
What Baseline Photos Protect You From
Four common situations where a dated baseline wins the argument.
- "You damaged my floor." Photos show the scratch was there before. Or they show the floor was clean, and you handle it properly.
- "Your work cracked our wall." Crack photos from before the work show that hairline crack existed, with a date.
- "Your trucks broke the driveway." A baseline of the driveway and curb, with location stamps, shows its condition at the start.
- "The water stain wasn't there." Ceiling and wall photos in each room show existing stains.
A record also helps you in the other direction. If your crew does cause damage, a baseline lets you fix the right thing and no more, quickly and fairly. Honest handling protects the relationship and the reputation. See construction defect claims for how records support your position in disputes.
Photo Rules That Make the Record Credible
A baseline is only useful if it can be trusted, located, and understood.
Every photo should:
- Carry an automatic timestamp and location stamp from the app
- Be labeled with the area and subject, such as "Living room, north wall, left of window"
- Show enough context to identify the location, with a wide shot and then a close-up of any defect
- Include a scale reference, such as a tape measure or ruler, for cracks, stains, and damage
- Be taken in good light, with a flash or a flashlight at a low angle to show surface flaws
- Be taken before any protection, tarps, or tools are placed
Method:
- Start at the entry and work in one direction, so nothing is missed
- Shoot each room from each corner, covering floors, walls, ceilings, and fixtures
- Capture a short video walkthrough as well, narrating the room name and any defects
- Photograph every existing defect with a close-up and a wide shot
- Photograph "good condition" areas too, so a later claim cannot argue they were already damaged
- Take photos in the app, so they attach to the job record automatically, not on a personal camera roll
Photos in a personal phone gallery without location data are easy to challenge. Photos taken in a job app with automatic stamps are much stronger.
Interior Baseline Checklist
Use this for each room. Photograph good areas and defects alike.
Walls and ceilings
- [ ] Each wall, wide shot and close-up of defects
- [ ] Cracks, with a scale reference: location, length, and direction
- [ ] Water stains, discoloration, and mold-like marks, if any
- [ ] Nail pops, holes, dents, and patches
- [ ] Paint condition: scuffs, peeling, and fading
- [ ] Ceiling: cracks, stains, sagging, and texture
- [ ] Corners, trim joints, and baseboards
Floors
- [ ] Overall floor in each room
- [ ] Scratches, dents, gaps, cupping, and stains
- [ ] Carpet wear, stains, and seams
- [ ] Tile cracks and grout condition
- [ ] Thresholds and transitions
- [ ] Squeaks and uneven areas, noted in writing
Doors and windows
- [ ] Each door: operation, finish, and hardware
- [ ] Each window: glass, frame, screen, sill, and operation
- [ ] Any existing damage or failure
Fixtures, cabinets, and surfaces
- [ ] Cabinets: doors, drawers, finishes, and interiors
- [ ] Countertops: chips, scratches, and stains
- [ ] Tubs, showers, sinks, and toilets: chips and cracks
- [ ] Appliances: condition and function if affected by the work
- [ ] Light fixtures and switches near the work
Furniture and contents
- [ ] Contents that will remain in the work area, condition noted
- [ ] High-value items and fragile items, with the owner's plan to move or protect them
- [ ] Items you are asked to move, documented before and after
Systems baseline, where relevant
- [ ] HVAC operating, with photos of the thermostat
- [ ] Water pressure and hot water, and any known leaks
- [ ] Electrical: outlets and lights operating, panel photo
- [ ] Any existing issues the owner points out
Walk the home with the owner if possible, so they can point out items you might not notice. Note it in writing when they do.
Exterior and Site Baseline Checklist
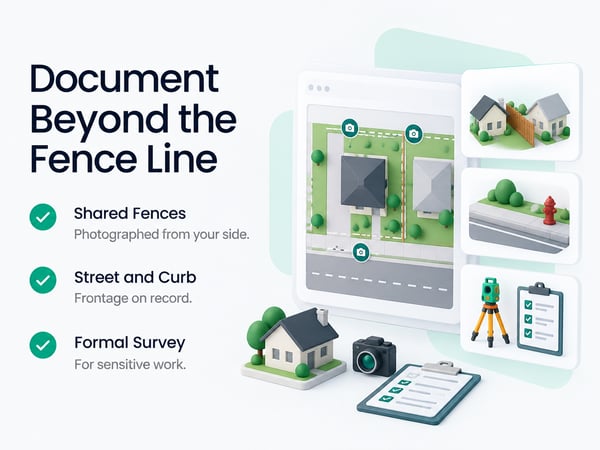
Include the area around the property that your work, trucks, and equipment might touch.
Building exterior
- [ ] Each elevation, wide shot
- [ ] Siding, trim, paint, and sealant condition
- [ ] Roof: overall and any visible damage
- [ ] Gutters, downspouts, and fascia
- [ ] Windows, doors, and exterior lights
- [ ] Foundation: cracks, settlement, and moisture signs
- [ ] Decks, porches, steps, and railings
Site and landscaping
- [ ] Driveway: surface, cracks, edges, and stains
- [ ] Walkways, patios, and steps
- [ ] Lawn condition, with photos showing the whole yard
- [ ] Trees, shrubs, and gardens that could be affected
- [ ] Irrigation heads and lines, if visible
- [ ] Fences, gates, and walls
- [ ] Retaining walls and slopes
- [ ] Mailbox and exterior fixtures
- [ ] Pool, patio, and outdoor equipment, if near the work area
Utilities and drainage
- [ ] Meter locations and utility markings, with locate request numbers
- [ ] Cleanouts, drains, and manholes
- [ ] Standing water and drainage patterns
- [ ] Septic or well components, if present
Staging, access, and delivery areas
- [ ] Dumpster location and ground condition
- [ ] Material storage areas
- [ ] Truck routes and turnaround spaces
- [ ] Street surface, curb, and sidewalk in front of the property
Take photos on a day that shows true conditions. A rainy or snowy day can hide damage. If that is the only day available, note the conditions and plan a second set.
Adjacent Properties and Public Property
Damage claims often come from neighbors and municipalities, not just clients.
For work near other properties or public infrastructure:
- [ ] Photograph the neighbor's side of shared fences, walls, and driveways, from your own property or the public right-of-way
- [ ] Photograph the street, curb, sidewalk, and pavement along the route and frontage
- [ ] Photograph visible utilities, poles, and hydrants
- [ ] Photograph trees and landscaping near the property line
- [ ] Note adjoining structures and any visible cracks
- [ ] Record the date, time, and weather
Entering a neighbor's property without permission can create its own problems. Stay on your own side of the line and the public right-of-way unless you have written permission. For excavation, demolition, pile driving, or blasting near other structures, a formal pre-construction survey by a qualified third party, including vibration monitoring where appropriate, may be required by the contract, the owner, or insurance. Ask your insurer and attorney. Give neighbors notice of the work and a contact person when that is appropriate, since a conversation upfront often prevents a dispute.
Sensitive Conditions to Document
Some conditions deserve extra attention.
- Existing cracks: use crack photos with a scale, and consider marking the ends with a date. Some contractors install crack monitors for sensitive structures
- Moisture or mold signs: photograph and note. Do not diagnose. Recommend a qualified professional where needed
- Older materials: buildings from certain eras may contain asbestos, lead-based paint, or other regulated materials. Do not assume. Follow the law, test through qualified professionals, and use proper procedures before disturbing materials. Lead-safe work rules apply to many pre-1978 homes, so check requirements for your work
- Structural concerns: sagging, out-of-plumb walls, or unusual deflection. Photograph and tell the owner in writing, and involve an engineer where appropriate
- Pests and rot: photograph and note
- Existing code issues: photograph and tell the owner, so they are not blamed on you later
Documenting a problem is not the same as accepting responsibility for it. State the facts in neutral language, and recommend that the owner address it.
Pre-Existing Conditions Acknowledgment
Pair the photos with a short signed acknowledgment, so the owner confirms the record.
Pre-Construction Condition Acknowledgment
Project: [Name/address] | Date: [__] | Prepared by: [Name]
[Contractor] has documented the existing condition of the property in the area of work, including interior rooms, exterior areas, landscaping, and surrounding features, through [number] photos and [number] video clips taken on [date], stored in [system] under job [number].
The Owner has been given the opportunity to review the photos and to identify any existing conditions not shown. Existing damage or conditions noted include:
- [Description, location, photo reference]
- [Description, location, photo reference]
- [Description, location, photo reference]
The Owner acknowledges that the photos and notes accurately show the condition of the property before work began, except as noted below:
[Exceptions or comments]
Owner: __________________ Date: ________
Contractor: ______________ Date: ________
Ask your attorney to review the wording and tailor it to your contract. A signed acknowledgment adds weight to the record, and it prompts the owner to point out conditions you missed.
Storing, Sharing, and Retaining the Record
A baseline that you cannot find later is worth nothing.
Store
- Keep photos and video in the job record, organized by area and date
- Keep the signed acknowledgment with the photos
- Keep a backup outside the app, such as a periodic export
Share
- Give the owner a link or a copy of the baseline report
- Keep your own copy, and do not rely on theirs
- Share relevant parts with your insurer if a claim arises
Retain
- Keep records for at least as long as your longest likely claim period, and ask your attorney for the right period for your state and contract
- Include the baseline in the closeout package. See construction project closeout
Link to later documentation
- Daily reports, progress photos, inspections, and final photos should use the same angles and labels where possible, so comparison is easy
- If damage happens during the job, photograph it right away, notify the owner in writing, and document the repair
Handling Damage That Does Happen
Mistakes happen. How you respond decides whether it becomes a claim.
- Stop and secure the area to prevent further damage
- Photograph the condition immediately, with location and time
- Tell the owner promptly, in writing, with the facts
- Compare against the baseline to confirm what is new
- Notify your insurance carrier as your policy requires
- Repair at your cost where the damage is yours, or document and discuss where it is not
- Photograph the repair and get the owner's sign-off
- Review what happened and update protection practices
Do not deny or hide damage. A transparent response, backed by a clear baseline, usually ends the matter. See how to negotiate a construction contract for contract language on damage, protection, and responsibility.
Tie Baseline Work to Time and Cost
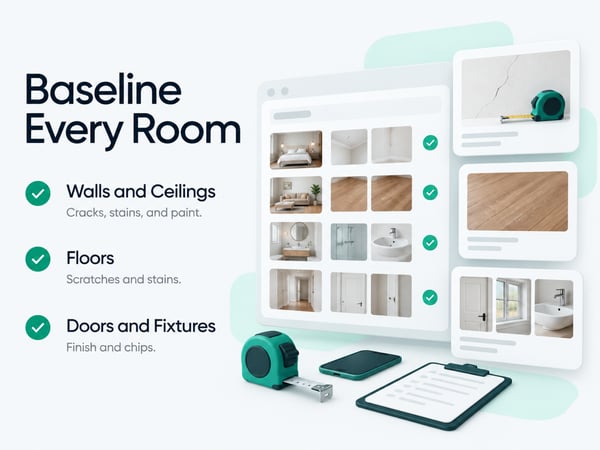
Baseline documentation takes time, and you should plan for it.
- Add a pre-construction documentation cost code and track the hours
- Include the cost in your estimate or overhead
- Record the technician's arrival and hours with GPS time tracking, so the date and location of the baseline visit are verified
- Link the baseline visit to the job record and the project start date
Most baselines take one to three hours for a typical home. That cost is small compared to one disputed claim. After several jobs, review how long baselines take and adjust your estimating. See construction time tracking software and time tracking for construction workers for setup. If a claim does arise, verified time records and photo timestamps together show who was on site and what existed at the start. See construction project delay for how verified records support your position in schedule disputes.
Rollout Plan for Your Company
Make the baseline a standard step, not an optional one.
Week 1: Build
- [ ] Create the interior, exterior, and adjacent property checklists in your app
- [ ] Add required photo prompts for each section
- [ ] Draft the acknowledgment and have your attorney review it
- [ ] Add the pre-construction documentation cost code
Week 2: Train
- [ ] Practice a baseline on a real home with each project manager
- [ ] Teach the photo rules: stamps, scale, wide and close, and labels
- [ ] Confirm offline capture works in basements and attics
Week 3: Use it
- [ ] Require a completed baseline before work starts on every project
- [ ] Review each baseline report before the start date
- [ ] Get the owner's signature
Ongoing
- [ ] Review claims quarterly and improve the checklist
- [ ] Update procedures for special project types
- [ ] Retain and archive records
For platform comparison on field documentation and time tracking, see top 5 time tracking apps, top 5 BusyBusy alternatives, and TaskTag vs. BusyBusy. For landscape and site-work crews, where lawns, irrigation, and trees are common claims, see time tracking for landscapers.
One-Page Baseline Checklist
Before the visit
- [ ] Appointment set with the owner
- [ ] Job open in the app, with the baseline template loaded
- [ ] Scale reference, flashlight, and moisture meter if used
Interior
- [ ] Each room: walls, ceilings, floors, doors, windows, and fixtures
- [ ] Existing defects photographed with scale
- [ ] Contents and protection plan documented
- [ ] Video walkthrough recorded
Exterior and site
- [ ] Each elevation and the roof
- [ ] Driveway, walks, lawn, trees, fences, and irrigation
- [ ] Utilities, meters, and locate markings
- [ ] Street, curb, and sidewalk
Adjacent and sensitive
- [ ] Neighboring property lines from your side or the right-of-way
- [ ] Third-party survey considered for sensitive work
- [ ] Existing cracks, moisture, and structural concerns noted
- [ ] Hazardous material rules checked
Record
- [ ] Photos timestamped, located, and labeled
- [ ] Acknowledgment signed
- [ ] Copy delivered to the owner
- [ ] Records stored and backed up
- [ ] Hours logged under the baseline cost code
Related Resources
Inspection and Documentation:
- Field Inspection Workflow: checklists, photos, and reports in one workflow
TaskTag Features:
- GPS Time Tracking for Construction: verified date, time, and location of baseline visits
- Construction Time Tracking Software: platform overview
- Time Tracking for Construction Workers: crew clock-in guide
- Top 5 Time Tracking Apps: platform comparison
- Top 5 BusyBusy Alternatives: alternatives guide
- TaskTag vs. BusyBusy: feature comparison
- Time Tracking for Landscapers: documentation for lawns, trees, and irrigation
Related Blog Posts:
- Construction Defect Claims: records in disputes
- Construction Project Closeout: closeout documentation
- How to Negotiate a Construction Contract: damage and protection clauses
- Construction Project Delay: verified records and schedule claims
- Construction Bonds Guide: bonds and insurance on larger projects
- How to Win Construction Bids: including documentation in pricing